Man Talk may earn a commission when you buy through links on this page. That never changes what gets recommended, and it never changes the price you pay.
Two-Bucket Car Wash Method: Step by Step
The two bucket wash method splits a car wash across two buckets: one with soapy water, one with plain rinse water. Load the mitt from the soap bucket, wash a single panel, then scrub the mitt clean in the rinse bucket before reloading. A grit guard in each bucket traps released dirt below the waterline, so the grit never returns to the paint. That loop is the whole trick, and it is the reason detailers treat this as the standard hand wash. Swirl marks come from dragging trapped grit across the clear coat, not from soap or water. Break the transfer cycle and the swirls mostly stop. This guide walks through the full process in order: equipment, bucket setup, pre-rinse and snow foam, top-down panel washing, wheels, and drying. Expect to spend about 60 to 90 minutes the first time and less on every wash after. The technique comes from published detailing guidance and community consensus, not invented testing. A full gear list with prices sits near the top.
What the two bucket wash method actually is
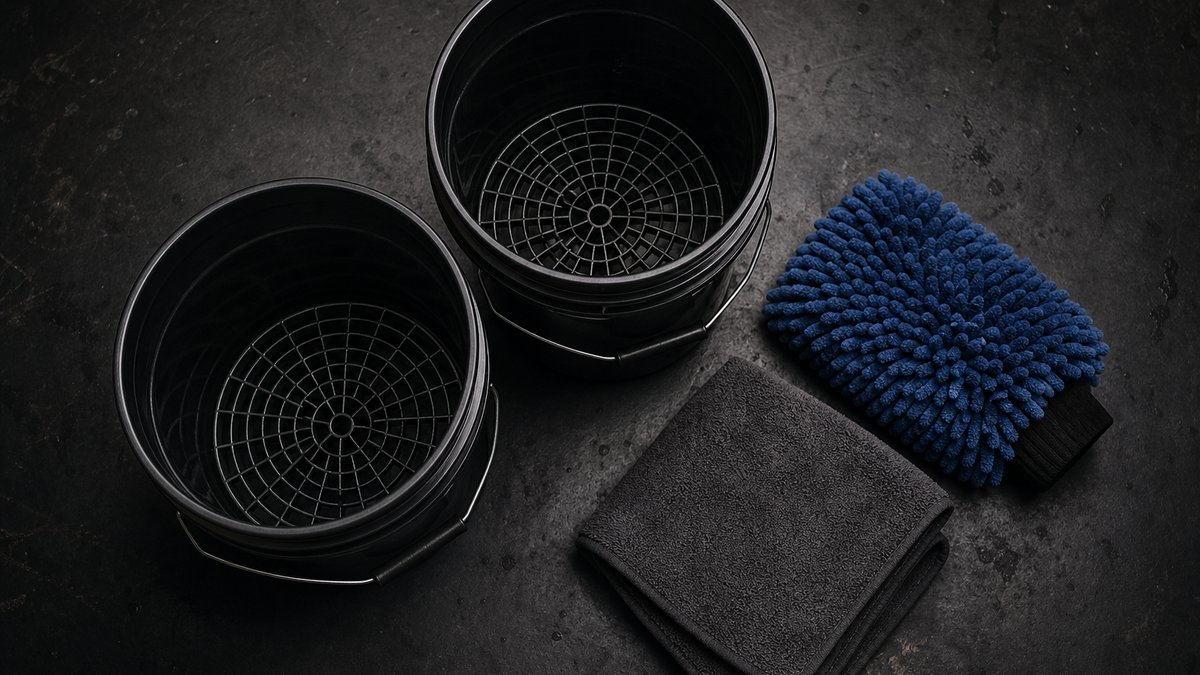
The two bucket wash method is a contact wash built around one rule: the mitt never returns to clean soap while carrying dirt. One bucket holds shampoo solution, the second holds plain water, and both hold grit guards. Chemical Guys calls the rinse bucket the interception point for wash-induced swirl marks.
A single bucket wash looks harmless, which is why most people do it for years. Every pass of the mitt picks up abrasive particles: road grit, brake dust, sand, pollen. Dunk that mitt back into one shared bucket and those particles move into the soap. Within a few panels the wash water behaves like liquid sandpaper. The second bucket breaks that chain for about the price of a pizza. Nothing here demands skill, professional products, or a special driveway. The method only asks for the same steps in the same order, every wash. Man Talk staff come from a background of classic cars and car audio, where paint care is part of the hobby.
The payoff builds over time. One careless wash rarely ruins paint on its own. Fifty careless washes leave the hazy spider webbing visible on every dark car in a parking lot. Detailers charge hundreds of dollars to polish that haze out, so prevention is the cheap option.
Why washing is what causes swirl marks
Swirl marks are thousands of micro scratches left by grit dragged across the paint, mostly during washing and drying. The clear coat that shows them is thin, commonly around 1.5 to 2 mils, roughly half the width of a human hair. Dark paint shows the resulting haze the moment light hits it.
Grit is harder than paint. Quartz sand sits around 7 on the Mohs hardness scale, while cured automotive clear coat is far softer. Press sand against paint with a mitt and the sand wins every time. Soap does not change that math, it only lubricates the surface. The fix is mechanical: keep grit off the mitt, or get it off before the next pass. That is the entire engineering behind the two bucket layout.
Why do straight lines beat circles?
Circular motion keeps any trapped particle under the mitt, grinding it over the same spot in a loop. A straight pass carries the particle to the panel edge and into the next mitt rinse. Straight marks also hide better than circular ones, because they catch light from fewer angles. Wipe front to back on horizontal panels and top to bottom on vertical ones. Chemical Guys lists circular wiping among the habits that recreate the damage the buckets prevent.
Equipment list and what it costs
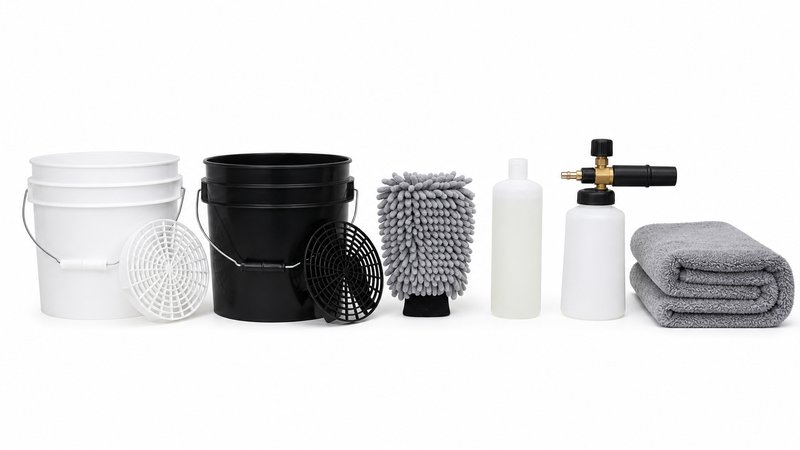
A full two bucket setup runs about 70 to 120 dollars using entry level gear. The core is two 5 gallon buckets, two grit guards, a chenille microfiber mitt, pH neutral shampoo, and a dedicated drying towel. A foam cannon and wheel kit are optional additions, not requirements.
| Item | Typical price | Required? |
|---|---|---|
| Two 5 gallon buckets | $10 to $15 each | Yes |
| Grit guard inserts (two) | About $10 each | Yes |
| Chenille microfiber wash mitt | $10 to $15 | Yes |
| pH neutral car shampoo | $10 to $20 | Yes |
| Microfiber drying towel | $20 to $45 | Yes |
| Foam cannon | $30 to $90 | No, needs a pressure washer |
| Wheel bucket, cleaner, and brushes | $35 to $55 | Recommended |
Those numbers track current listings at the major detailing brands. Adam's Polishes lists a 5 gallon bucket from about 13 dollars and a grit guard insert at 10. Chemical Guys sells bundled two bucket kits that cover the whole core list in one box. Plain hardware store buckets work fine as long as they hold 4 to 5 gallons. The Man Talk guide to the best car detailing kits for beginners compares bundles that include most of this gear.
Step 1: Set up the buckets
Setup takes five minutes: drop a grit guard in each bucket, fill both about two thirds, and add shampoo only to the wash bucket. Label the buckets so they never swap jobs. Chemical Guys builds dirt trap inserts with roughly 300 small funnels that route grit beneath the guard.
- Seat one grit guard flat on the bottom of each bucket.
- Fill the rinse bucket about two thirds full with plain water.
- Fill the wash bucket to the same level, then add shampoo at the label ratio, usually around one ounce per gallon.
- Blast the wash bucket with a strong stream of water to raise thick suds.
- Park both buckets in the shade, on the side of the car getting washed first.
Color coding solves the mix-up problem for good. Detailers commonly run a dark bucket for wheels and lighter colors for paint duty. The grit guard matters because released dirt settles within minutes. The guard holds the mitt a couple of inches above that sediment layer, so even a deep dunk stays safe. Warm water helps when available. Chemical Guys notes that warm water improves soap activation and glide, while cold water cuts the suds.
Step 2: Pre-rinse the car and apply snow foam
Rinse the entire car from the top down before anything touches the paint. A pre-rinse flushes away loose dust, pollen, and grit, which lowers the abrasive load for every later step. Chemical Guys sums the rule up as foam first, touch second.
- Rinse the roof first, then work down the glass, hood, and doors.
- Flush the wheel arches, sills, and badge crevices where grit hides.
- Coat the car in snow foam with a foam cannon, if one is available.
- Let the foam dwell for three to five minutes, but never let it dry.
- Rinse the foam away from the top down.
Do you really need a foam cannon?
No, and skipping it does not break the method. A cannon needs a pressure washer to make thick foam, which roughly doubles the cost of entry. Hose-fed foam guns produce thinner suds that still help loosen surface dirt. The pre-rinse is the part that cannot be skipped, foam or not. On a lightly dusty car, a strong hose rinse removes most of the loose contamination by itself.
Step 3: Wash the paint from the top down
Wash one panel at a time in straight, overlapping passes, starting at the roof and ending at the sills. The lower third of the car carries the heaviest grit, so it always comes last. Chemical Guys lists bottom-to-top washing among the mistakes that undo the technique.
- Load the mitt in the wash bucket and carry it out dripping with suds.
- Wash the roof in straight lines with light pressure, letting the suds lubricate.
- Rinse and reload the mitt, then wash the glass and upper doors.
- Continue through the hood and trunk with a fresh mitt load per panel.
- Finish with the lower doors, bumpers, and sills, where the worst grime lives.
- Rinse each section with the hose before the soap can dry on it.
Light pressure is the habit that separates good technique from bad. The mitt should glide on a cushion of suds, never scrub. On a hot day, work smaller sections and keep every panel wet. Chemical Guys also warns against washing in direct sun, since drying soap forces extra agitation during the final rinse. Glass counts as paint here, so wash it with the same mitt and the same rinse loop.
Step 4: Rinse the mitt between every panel
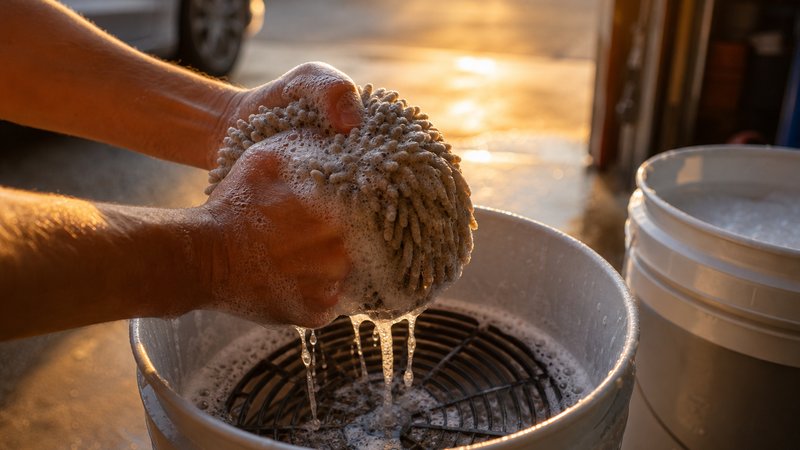
After each panel, scrub the mitt against the rinse bucket grit guard, wring it out, and only then reload it with soap. This loop is the entire reason the method prevents swirl marks. Skip it once and the wash bucket stops being clean.
- Dunk the dirty mitt into the rinse bucket.
- Scrub it against the grit guard for five to ten seconds.
- Wring the mitt out beside the bucket, not over it.
- Reload it in the wash bucket and move to the next panel.
- Swap the rinse water if it turns visibly murky mid-wash.
A chenille microfiber mitt makes the loop work better. Chemical Guys notes that the long fiber noodles pull particles deep into the mitt, away from the paint side. The grit guard scrub then releases them into the rinse water. Sponges hold grit right at the surface, which is why detailers moved away from them. Machine wash the mitt after every few uses and dry it on low heat.
Step 5: Wash the wheels last, with their own bucket
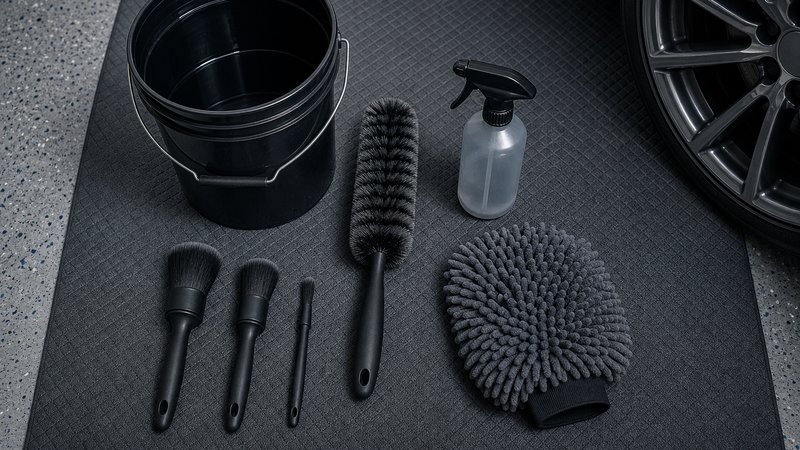
Wash the wheels after the paint, using a third bucket and tools that never touch bodywork. Brake dust is largely iron particles shed by the rotors and pads, some of the most abrasive grime on a car. One shared mitt would carry that metal straight onto the paint.
- Fill a third bucket with shampoo solution and mark it wheels only.
- Rinse one wheel and tire to flush the loose brake dust.
- Spray a dedicated wheel cleaner and let it dwell per the label.
- Agitate the barrel, spokes, and lug pockets with a wheel brush and wheel mitt.
- Rinse the wheel thoroughly, then repeat on the next one.
Should wheels come first or last?
Detailers genuinely split on this one. Washing wheels first keeps wheel cleaner overspray off finished paint. Washing them last, the order used here, keeps the filthiest job away from the paint buckets while the paint wash is in progress. Both sequences produce clean cars when the tools stay separated. Pick one order, keep the wheel gear quarantined, and the debate stops mattering.
Step 6: Dry the car without adding swirls
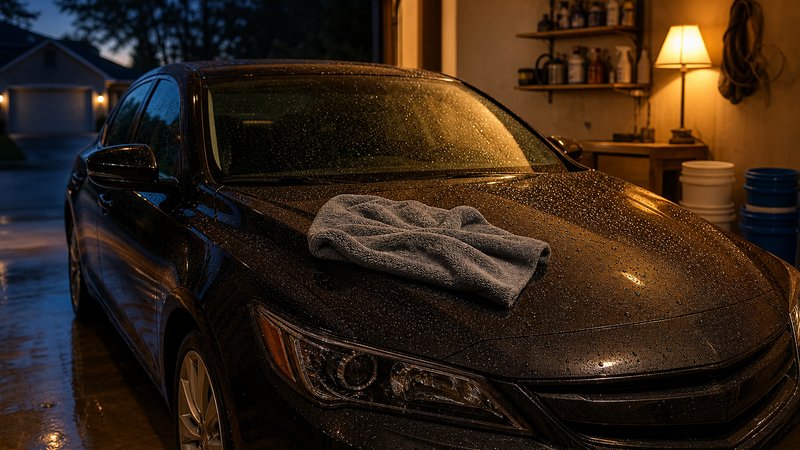
Dry immediately with a large twisted loop microfiber towel or a car blower, working in straight lines from the top down. Water left to evaporate leaves mineral spots, and household towels leave scratches. Community guides put quality drying towels around 1,100 to 1,500 gsm.
- Pull the nozzle off the hose and sheet water across the panels first.
- Lay the towel flat and drag it across the panel in straight lines.
- Work from the roof down, moving to a dry section as the towel loads up.
- Chase water out of mirrors, badges, and panel gaps with a blower or towel edge.
- Finish the glass with a separate short pile towel.
Never let the car air dry, even in shade. Tap water carries dissolved minerals that stay behind as white spots when the droplets evaporate. A dedicated car blower removes water with zero contact, which makes it the lowest risk option. Filtered units run roughly 80 to 150 dollars, so most people start with towels. A drying aid spray adds lubrication under the towel and cuts the scratch risk further. The Man Talk guide to the best microfiber towels for car detailing covers which towels are safe and which ruin paint.
Common mistakes that undo the method
Five habits quietly bring the swirls back: skipping the pre-rinse, washing in direct sun, circular wiping, reusing a dropped mitt, and dirty drying towels. Chemical Guys flags most of these in its own two bucket guidance. Every one of them has a fix that costs nothing.
| Mistake | Why it hurts | Fix |
|---|---|---|
| Skipping the pre-rinse | The mitt meets loose grit on the first pass | Rinse before any contact |
| Washing in direct sun | Drying soap forces hard scrubbing | Wash in shade, early or late |
| Circular wiping | Grinds trapped grit over one spot | Straight overlapping lines |
| Dropped mitt back on paint | Concrete grit rides the next pass | Retire it to the laundry |
| One towel for everything | Old grit lives in the fibers | Separate towels for paint, glass, wheels |
The dropped mitt deserves its own mention. Concrete holds exactly the kind of sharp mineral grit this whole method exists to avoid. Keep a spare mitt in the kit so the wash never depends on a gamble. A five second slip should not cost a repaint-grade polishing session.
How this wash fits a full detailing routine
The two bucket wash is the maintenance layer that protects everything else in a detailing routine. Decontamination, polishing, and waxing all assume a safe wash happens between them. Done every two weeks, it keeps a daily driver ahead of the haze that ruins dark paint.
A careful wash also doubles as an inspection pass. Working panel by panel puts your eyes inches from every chip, scratch, and tar spot. Catching those early keeps them small, cheap problems instead of bodywork bills. Washing is where a detailing habit starts, not where it ends. The Man Talk car detailing section collects technique guides and gear roundups as they publish. The about page explains how recommendations get made here. Brand technique libraries are worth reading too, and Chemical Guys publishes detailed wash how-tos on its site. None of the steps in this guide require any specific brand to work.
Frequently asked questions
Do you need grit guards in both buckets?
Run a guard in both buckets whenever possible. The grates give you a surface to scrub the mitt against, and they trap released grit below the waterline. Detailers debate which bucket needs one more. At roughly ten dollars each, fitting both ends the debate cheaply.
Can you use dish soap instead of car shampoo?
No, dish soap is built to strip grease, so it strips wax and sealant along with the dirt. It also dries out rubber and plastic trim over time. A pH neutral car shampoo cleans without removing protection and costs about ten to fifteen dollars a bottle.
How often should you wash a car with the two bucket method?
Every two weeks is the common guideline for a daily driver, weekly if the car sits outside under trees or near the coast. Bird droppings, sap, and bug remains should come off sooner, since they etch clear coat within days in warm weather.
Does the two bucket method work without a pressure washer?
Yes, a garden hose with a spray nozzle handles the pre-rinse and final rinse fine. The pressure washer mainly exists to run a foam cannon. Without one, a hose-fed foam gun or a stronger pre-rinse fills the gap, and the bucket technique stays exactly the same.